January 28, 2021
Solved

adding project name to custom invoice on desktop quickbooks

  • January 28, 2021
  • 1 reply
  • 0 views

I designed a custom invoice on Quickbooks Desktop Pro 2020.  It's all working except for a box for Project name.  I opened an Invoice, then went to Manage Templates, chose my custom template, clicked on Additional Customization.  And I see the list of Headers I can choose from.  But the box for Project/Job has the box for "Screen" greyed out.  So my only choice is "print" but then when I enter my invoice there's no box for me to enter a project name, and when I print the invoice, it just has a box that has the static work "Project" in it.  Any help would be greatly appreciated

Best answer by Rasa-LilaM

Thanks for dropping by the Community, jcellis5716.


I appreciate for adding a screenshot of your concern. It gives me a clearer view of what happened to the customized invoice. Let me share some insights into why the Print option is greyed out in the Header section.


The information that will show in the Project field is the job you’re billing from. That’s why you’re unable to select the Screen box in the Additional Customization window.


You’ll have to set up the project name as a job or sub-customer in the Customer Center. Then, add it so it will show on the invoice. I’ll guide you through the steps to set it up in QuickBooks.


  1. Go to the Customers menu at the top bar and choose Customer Center.
  2. Pick the customer whom you want to create a project or job.
  3. Click the New Customer & Job drop-down and select Add Job.
  4. On the Job page, fill in the fields with the correct information.
  5. Click OK once done.


Let me share these articles for future reference. These resources outline the complete instructions on how to perform the following tasks.


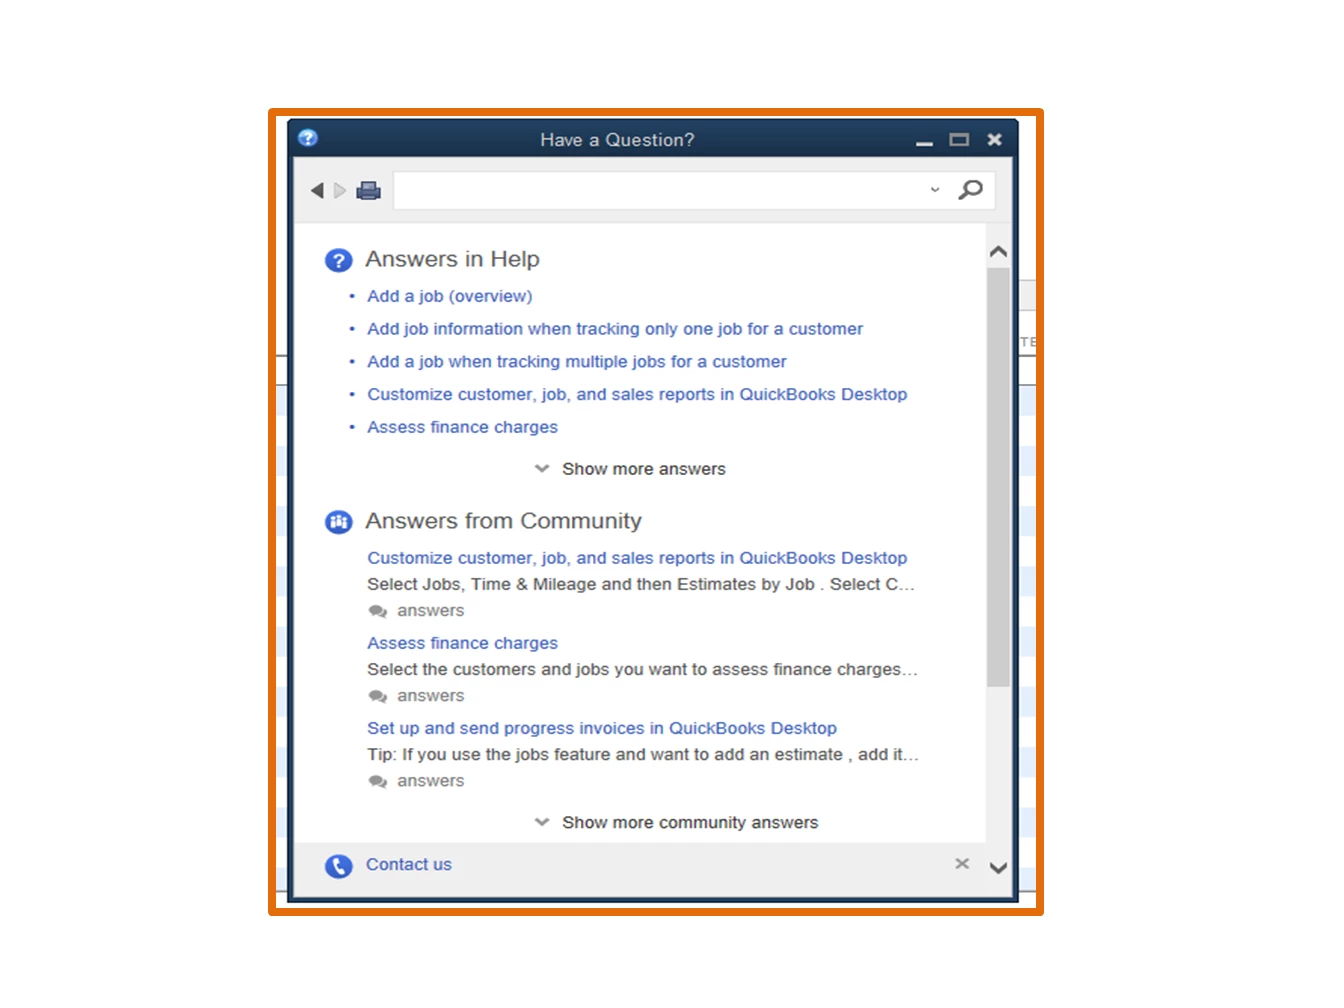
You can also check the built-in articles in the company file. From there, you'll find more information about the Jobs feature in QuickBooks.


Here's how:


  1. Tap the Help menu at the top bar and select QuickBooks Desktop Help F1.
  2. Type a keyword in the search field. For example, job.
  3. This will display a list of related articles.
  4. Click on the topic to view the complete details.
 

If you still need help with QuickBooks, feel free to post a comment below. I’ll get back to assist further. Have a good one.


1 reply

January 28, 2021

Thanks for dropping by the Community, jcellis5716.


I appreciate for adding a screenshot of your concern. It gives me a clearer view of what happened to the customized invoice. Let me share some insights into why the Print option is greyed out in the Header section.


The information that will show in the Project field is the job you’re billing from. That’s why you’re unable to select the Screen box in the Additional Customization window.


You’ll have to set up the project name as a job or sub-customer in the Customer Center. Then, add it so it will show on the invoice. I’ll guide you through the steps to set it up in QuickBooks.


  1. Go to the Customers menu at the top bar and choose Customer Center.
  2. Pick the customer whom you want to create a project or job.
  3. Click the New Customer & Job drop-down and select Add Job.
  4. On the Job page, fill in the fields with the correct information.
  5. Click OK once done.


Let me share these articles for future reference. These resources outline the complete instructions on how to perform the following tasks.


You can also check the built-in articles in the company file. From there, you'll find more information about the Jobs feature in QuickBooks.


Here's how:


  1. Tap the Help menu at the top bar and select QuickBooks Desktop Help F1.
  2. Type a keyword in the search field. For example, job.
  3. This will display a list of related articles.
  4. Click on the topic to view the complete details.


If you still need help with QuickBooks, feel free to post a comment below. I’ll get back to assist further. Have a good one.

January 29, 2021

Thank you Lila that did the trick.