Sí, puedes, Norma. Mi objetivo es garantizar que el proyecto y la dirección del cliente se completen automáticamente en los campos Facturar a y Enviar a al crear una factura en QuickBooks Online (QBO).
Si aún no lo ha hecho, cree un proyecto y asegúrese de que la opción Dirección para este proyecto esté habilitada. Para hacer eso:
- Vaya a Proyectos y seleccione Nuevo proyecto.
- Ingrese un nombre de proyecto y elija un cliente.
- Seleccione la fecha de inicio, la fecha de finalización y el estado del proyecto.
- Active la dirección de este proyecto.
- Ingrese la información de la dirección de facturación y envío.
- Haga clic en Guardar.
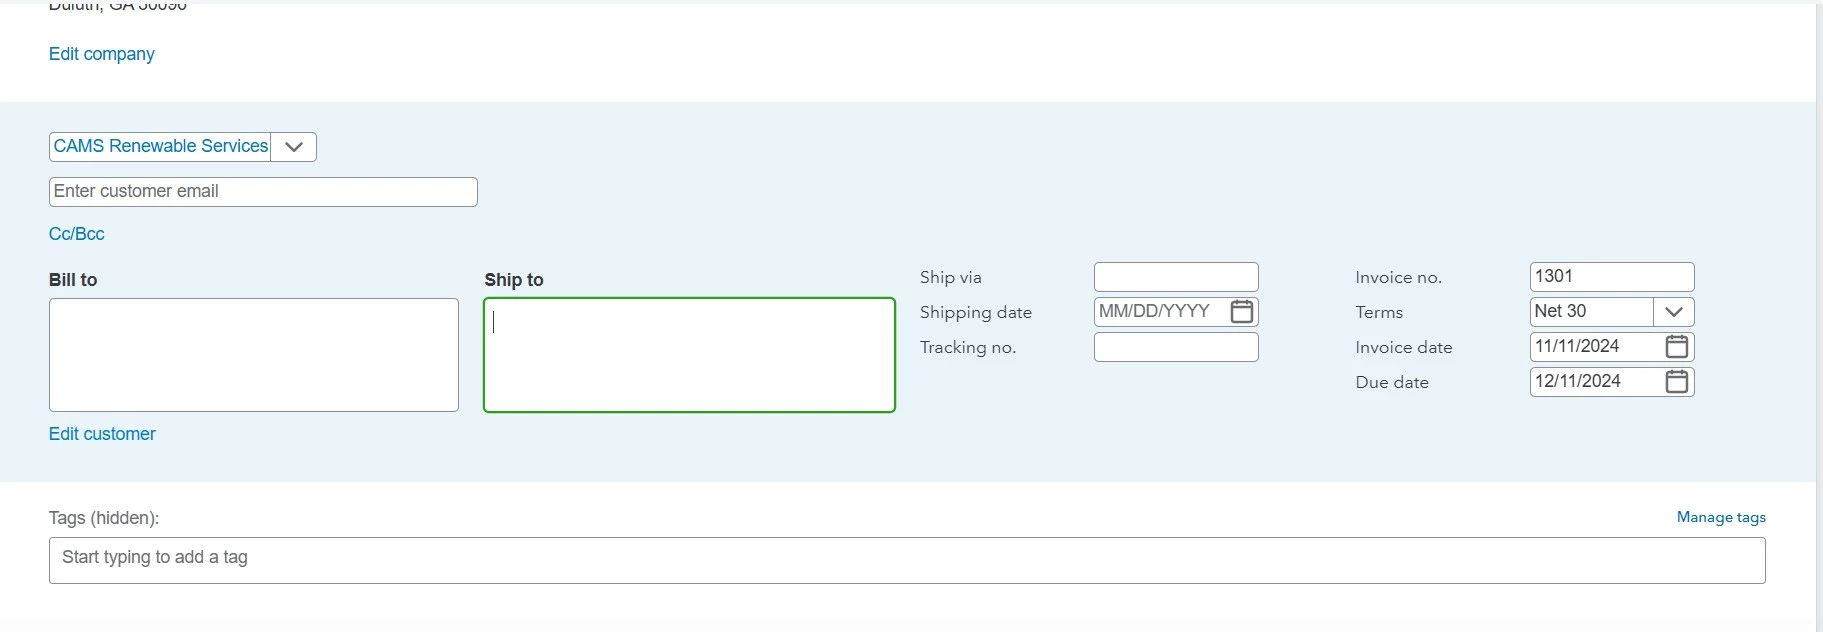
Una vez hecho esto, cree una factura y seleccione el nombre del proyecto en el menú desplegable Agregar cliente.
Además, puedes personalizar el diseño de tus facturas para que luzcan profesionales al enviarlas a tus clientes.
Además, querrá visitar QuickBooks Live Assisted para obtener asistencia personalizada y en tiempo real de nuestros expertos en contabilidad con respecto a la gestión eficaz de sus proyectos.
Tenga en cuenta que estaremos encantados de responder sus preguntas sobre la facturación de los gastos del proyecto a sus clientes. Solo mantenme informado y nos aseguraremos de responder con prontitud. Cuídate y ten un día productivo por delante.
Descargo de responsabilidad: tenga en cuenta que estoy utilizando una herramienta de traducción para ayudar a comprender y brindar la solución en español.
--
Yes, you can, Norma. It's my goal to ensure the project and customer address will auto-populate in the Bill to and Ship to fields when creating an invoice in QuickBooks Online (QBO).
If you haven't yet, create a project and ensure that the Address for this project option is enabled. To do that:
- Go to Projects and select New Project.
- Enter a Project Name and choose a Customer.
- Select the Start Date, End Date, and Project Status.
- Turn on the Address for this project.
- Enter the billing and shipping address information.
- Click Save.

Once done, create an invoice and select the project's name in the Add Customer dropdown.
Furthermore, you can customize the design of your invoices so they'll look professional when sending them to your customers.
Moreover, you'll want to visit our QuickBooks Live Assisted page for personalized and real-time support from our accounting experts regarding managing your projects effectively.
Please know that we'll be happy to answer your questions about invoicing your customers for project expenses. Just keep me in the loop, and we'll ensure to respond promptly. Take care, and have a productive day ahead.