Solved
Is there a way to bulk delete bad journal entries that were enter by accident?
Original commenter did not share additional details

As of the moment, deleting journal entries in bulk is not directly supported in QuickBooks Online, @AJSTeam1. This is because each entry usually needs to be reviewed and deleted individually to avoid accidental loss of data. This careful process ensures that each deletion is intentional and helps preserve your crucial financial information accurately.
Here's how to manually delete each journal entries:
For more detailed instructions, you can refer to this article: Delete a journal entry.
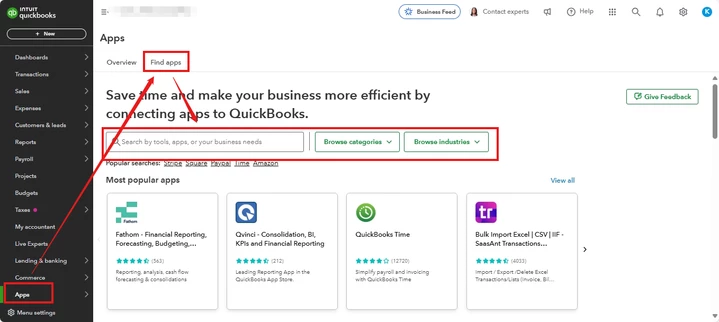
Alternatively. you may want to visit our market or go directly to the Apps in QuickBooks Online to look for a third-party app that can delete multiple entries. Here's how:
Additionally, you can allocate a transaction between two accounting periods or to correct a debit and credit error, you can utilize a process that reverses the debits and credits without deleting the original journal entry. This ensures that the original transaction remains intact while properly adjusting the accounting records. Once corrected, you can then print it.
Lastly, I’d like to introduce you to our QuickBooks Live Expert Assisted service, designed to help you organize your finances seamlessly and efficiently. We have a team of experts who will work directly with you to categorize transactions, reconcile accounts, and generate customized reports tailored to your business needs.
If you still have further concerns about deleting multiple entries, just tap the Reply button. I'm always here to assist you!
Enter your E-mail address. We'll send you an e-mail with instructions to reset your password.