You can map your 1099 NEC by either clicking 1099 Forms under the Vendors menu or navigating through the Preferences tab in your QuickBooks Desktop, @Beth1107. I’m happy to guide you through this process and provide additional details about each option.
Both navigating to Preferences and clicking on Print/E-file 1099 Forms will lead you to the same outcome, as you will be directed to the Map vendor payments accounts page.
For the Preferences option, here's how:
- Navigate to the Edit menu, then Preferences.
- Select Tax: 1099 tab, then Company Preferences.
- Click the hyperlink for the form 1099 NEC and select Yes to the prompt.
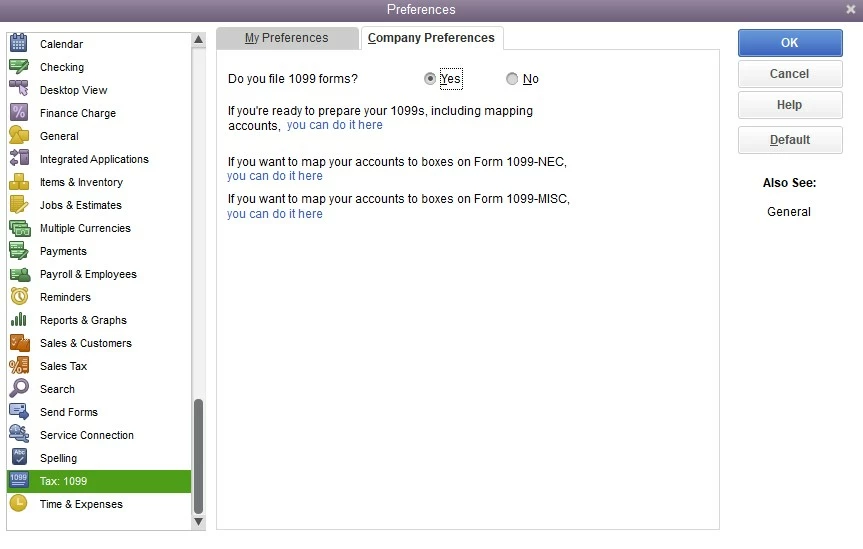
- Once routed to the Map vendor payments accounts page, make necessary changes.
For the Vendors menu option, here's how:
- Go to the Vendors menu, then 1099 Forms.
- Click Print/ E-file 1099 Forms, then confirm by selecting Yes to the prompt.

- Once directed to the Print/E-file 1099 Forms page, choose Get started for Form 1099-NEC.
- Follow the on-screen steps.
Additionally, please note that since you are using a 2021 version of QuickBooks, it has already been discontinued. This means you cannot generate, print, or file your 1099 forms.
In this case, you'd like to upgrade your QuickBooks to the newer version to be able to process this form without disruptions.
I have also included a helpful resource that you can access for guidance in case you need to make corrections to 1099-NEC or 1099-MISC forms after you have e-filed them: Correct or change 1099s in QuickBooks.
I'm always around the Community if you have any other concerns about managing your Form 1099-NEC. Don't hesitate to post again here. Have a good one and keep safe.
