August 9, 2020
Solved

Invoicing customers for billable expenses

  • August 9, 2020
  • 2 replies
  • 0 views
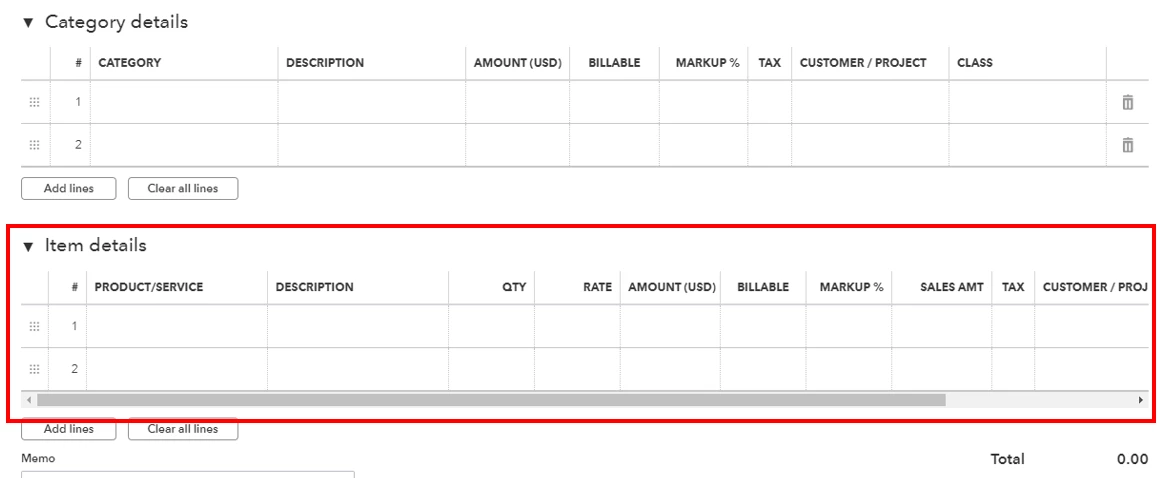
We incur and pay for some expenses on behalf of customers and then bill them for these on their monthly invoices. We are entering theses expenses at time of incurring them, and then they appear when we do the customer's invoice. But as soon as we add the expense to the invoice, it has no product/service and once we choose the product/service it deletes out the details of the expense and we have to re enter everything manually. This is not sustainable and prone to errors. Why does this happen and how do we stop it from occuring?
Best answer by AlexV

Good day, alect.


Let me help you with converting billable expenses into an invoice.


The reason why there's no product or service when you add the expense is that you used the category option. You'll want to open the bill or expense you created and add the details on the Item details section.


If you can't see this section, follow these steps on how to turn it on:

  1. Go to the Gear icon and select Account and settings.
  2. From the Expenses tab, select the Bills and expenses.
  3. Turn on the Show Items table on expense and purchase forms.
  4. Click Done.

Then, you can redo the expense to correct it and add it back to the invoice. I've added some articles for more details:

I'll be here if you have more questions. Wishing you all the best!

2 replies

AlexV
AlexVAnswer
August 9, 2020

Good day, alect.


Let me help you with converting billable expenses into an invoice.


The reason why there's no product or service when you add the expense is that you used the category option. You'll want to open the bill or expense you created and add the details on the Item details section.


If you can't see this section, follow these steps on how to turn it on:

  1. Go to the Gear icon and select Account and settings.
  2. From the Expenses tab, select the Bills and expenses.
  3. Turn on the Show Items table on expense and purchase forms.
  4. Click Done.

Then, you can redo the expense to correct it and add it back to the invoice. I've added some articles for more details:

I'll be here if you have more questions. Wishing you all the best!

alectAuthor
August 9, 2020

Thank you Thank you Thank you.  Such a small thing but so annoying and such a time waster for me.  And you've solved it!!!

August 9, 2020

Hi there, alect.


You're very welcome. It's glad to know that your issue was resolved. I'm just a few clicks away should you need anything else. Have a lovely day.


January 9, 2024

Hello, @SR31T.


I can see that you just joined an Australian thread, and as you've mentioned, you are using QuickBooks Desktop, so I would assume that this is under the QuickBooks Online region.


To upload receipts to QuickBooks Desktop, you can use either the QuickBooks Desktop mobile app or a computer. If you have a Pro Plus, Premier Plus, or Enterprise subscription, QuickBooks will automatically match the information from your receipts with an existing transaction. After that, you can review and approve the match.


If you have refunded a customer, you can match the refund with the uploaded receipt in the receipt management section. However, if you still need to issue a refund, you can create a new transaction by reviewing the receipt in the Receipt Management.


To create a refund, you can follow these simple steps:

  1. From the Customers menu, select Refunds.
  2. In the Customer: Job drop-down, choose your customer.
  3. Enter the items you're giving credit for, then select Save & Close.


After creating a refund, you can review, edit, and match receipts to transactions. Once you upload the expense receipts in QuickBooks Desktop, they'll show up in the For Review tab.


  1. Go to Vendor, then select Receipt Management.
  2. From the For Review tab, select the Refresh icon to see your receipts.
  3. From the receipt, select the small arrow, then select Review.
  4. If the receipt matches the transaction, select Attach.
  5.     Note: If the match is incorrect, select Remove match, then create a new transaction.  
  6. Select OK.  


After you have completed the steps, you can add the invoice as an attachment receipt, and you have to do it manually. Remember that you will attach it through a file.


For future reference, you can learn how to reconcile your accounts so they match your bank and credit card statements: Reconcile an account in QuickBooks Desktop.


If you have further questions about anything related to QBDT. You can comment below, and we'll respond to you as soon as possible.

January 9, 2024

Hi,

Thanks for the info but it doesn't answer my question exactly. Lets say i have created an invoice and added a receipt to that invoice from the "Add Time/Cost">"Expenses" button (Here i find receipts for reimbursable expenses i have incurred being billed back to the owner and pulled from the Receipt Management System). 


So the expense cost is now on the invoice and i want to now go look at the receipt associated with that expense from the invoice screen. For Example: In the future I want to give the owner copies of the receipts. I'd like to pull these directly from the invoice.


Please let me know if this is clear or not.


Thank you 

January 9, 2024

Hi SR31T,


Thank you for getting back to us. Since you are using the QuickBooks Desktop version in Australia, I would recommend contacting the support desk for QuickBooks Desktop which is handled by Reckon. They'll be the best support that can provide more information about the billable expense concern for your account. 


Contact Reckon support through: https://www.reckon.com/au/contact-us/


Post again in the Community if you have further concerns about QuickBooks Online version.