Thanks for coming back, accountant2124.
The option to add a cost center for each line of the entry is unavailable. However, we can turn on class tracking and choose one to each row in transaction option. This shows the class column in the journal entry. See the screenshot below:
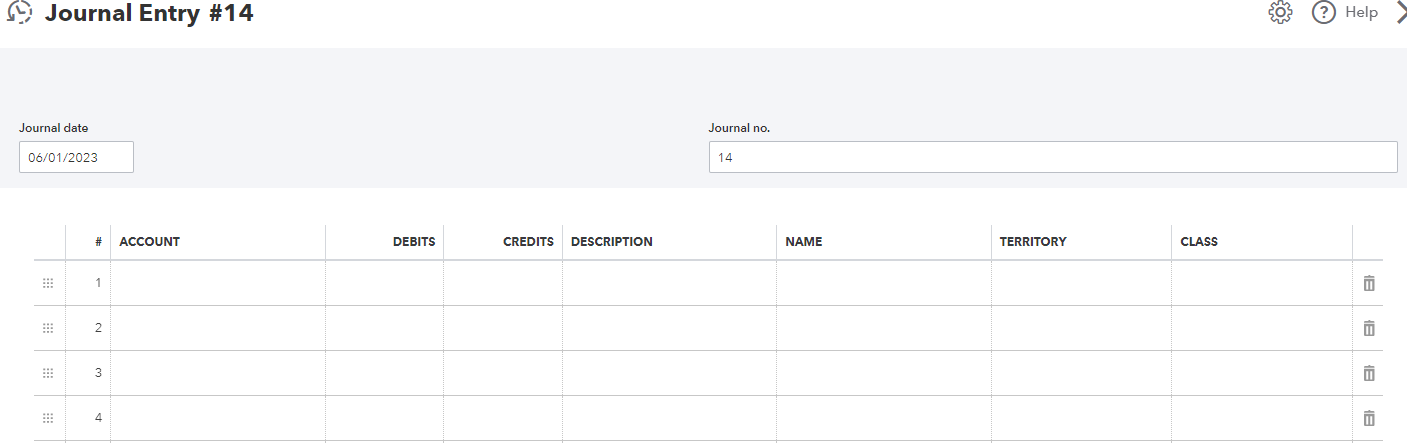
Here's how:
- Go to the Gear icon and select Account and Settings.
- Tap Advanced, then select the Categories section to edit.
- Check Track classes.
- Check Warn me when a transaction isn't assigned a class. This is optional, but it's good to turn on, so when you look at reports, you know everything got classified.
- Under Assign classes, select One to each row in transaction. Select One to entire transaction if you don't need to enter a class for each product you sell to a customer. You can save time and assign one class to the entire invoice or sales receipt instead.
- Press Save, then Done.
You can check out this article for more details about turning on class tracking in QuickBooks Online Plus and Advanced: Turn on class tracking in QuickBooks Online.
Do you also want to track your transactions using classes like store departments or product lines? This article will be your guide: Track your transactions by class in QuickBooks Online.
Please let me know if you have other concerns about organizing your transactions. I'm always here to provide answers for your business needs. You have a good one.

